Self-signed certificate for ePOS printers
Some ePOS printers require a secure HTTPS connection to communicate with Odoo. This guide explains how to generate, export, and install a self-signed certificate to enable secure communication.
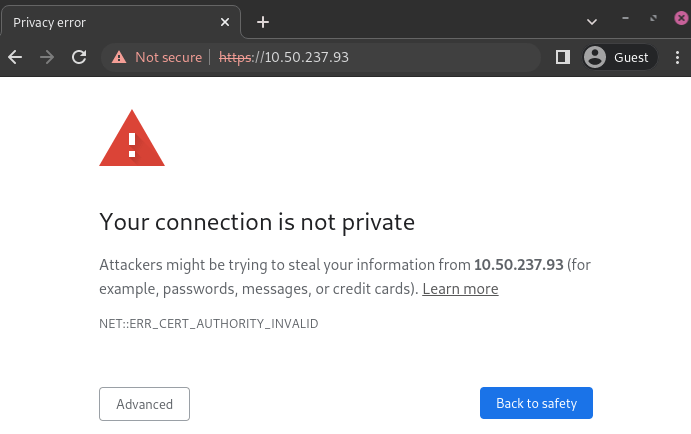
Certain ePOS printers that operate without an IoT system require HTTPS to establish a secure connection with the browser. Since these printers use self-signed certificates, browsers may display a warning when accessing their IP address.
To resolve this, you must generate, export, and import a self-signed certificate.
Overview
Self-signed certificates are used to:
-
Secure communication between the browser and the printer
-
Eliminate browser security warnings
-
Allow proper integration with Odoo POS
Important
-
A self-signed certificate should only be generated once. Creating a new one invalidates previously trusted certificates
-
Printers connected via an IoT system do not require this setup
-
For best results, use Google Chrome during configuration
Note
If your operating system or browser differs from the examples below, search for:
-
export SSL certificate <your OS/browser> -
import SSL certificate root authority <your OS/browser>
Generate a self-signed certificate
Steps may vary depending on your system, but the process below uses Google Chrome.
-
Open your browser and enter the printer’s IP address (e.g.,
https://192.168.1.25) -
On the security warning page:
-
Click Advanced
-
Select Proceed (unsafe)
-
-
Access the printer’s admin interface:
- Go to Advanced Settings → Administrator Login
-
Enter the default password (usually found on the printer)
-
Navigate to:
Network Security → SSL/TLS → Certificate -
Under Self-signed Certificate, click Update
-
Set the Common Name to the printer’s IP address only
-
Confirm and wait until the printer finishes processing
Note
Login credentials may vary by model. For example, some Epson printers use:
-
Username:
epson -
Password: printer serial number
Export the certificate
After generating the certificate:
-
Click the Not secure label in the browser address bar
-
Open Certificate details
-
Go to the Details tab
-
Click Export
Then:
-
Save the file with a
.crtextension -
Use format:
Base64-encoded ASCII
Import the certificate
To trust the certificate on your system:
-
Open browser settings
-
Navigate to Privacy and security → Security
-
Click Manage certificates
Then:
-
Open the certificate manager
-
Click Import
-
Select your
.crtfile -
Choose:
- Trusted Root Certification Authorities
-
Complete the wizard and confirm
Note
Import steps may vary depending on your OS or browser (Chrome, Firefox, etc.).
Verify the connection
To confirm the setup:
-
Open the printer’s IP using HTTPS
- Example:
https://192.168.1.25
- Example:
-
Check the browser:
-
No security warning should appear
-
A 🔒 padlock icon should be visible in the address bar
This confirms a secure connection between the browser and the printer.